 Home
Home Sewing, Embroidery & Serger
 Cutting machines
 Brands
 Review

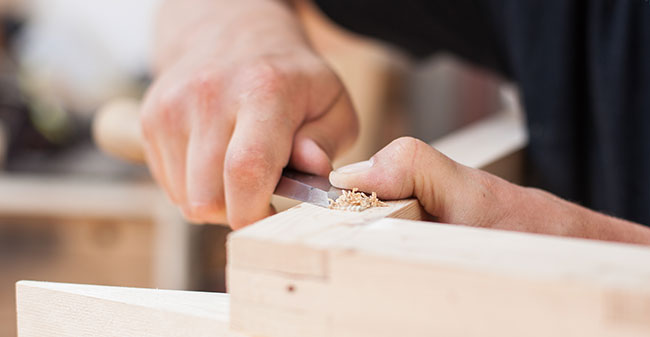
For the experienced sewing enthusiast or quilter, having a sewing machine at the same height as the table that you’re working on has many advantages. Besides the obvious visual and structural reasons, there are many benefits to this. Let’s explore how to make a sewing table if you cannot afford or you’re not interested in buying a sewing table.
Benefits of Owing a Sewing Table
There are many benefits to having a sewing table. When you are sewing or quilting, it is easier to sew if the table and the surface of the sewing machine working area are of the same height. This allows easier maneuverability and precision.
Hearkening to the old treadle powered sewing machines, sewing tables can easily be stylized to match any décor. With a nice cover or even as a showpiece, the sewing table is a great choice for any sewing enthusiast.
Making a Sewing Table
Now you’ve made the decision to build a sewing table but you’re not sure where to begin. How to make a sewing machine you ask? Let’s explore this step by step guide to learn how to make a sewing table all by yourself.
The first thing you need to consider is your sewing machine. Are you looking to have your sewing machine in the future or looking to make an upgrade in the near future? Depending on the footprint of the sewing machine it may be different.
If you have an existing table
If you have an existing table that you are trying to turn into a sewing table, there are a few modifications that have to be made to complete this. Retrofitting an existing table can seem daunting but with a few basic directions, you can easily turn any table into a sewing table.
The best way to choose to retrofit an existing table is to think about where you are going to sit. Where is the plug in relation to the table? Will you need an extension cord? Will the drop in the table interfere with anything currently against or below the table? This pre-planning can help you to build a sewing table that will easily fit your needs.
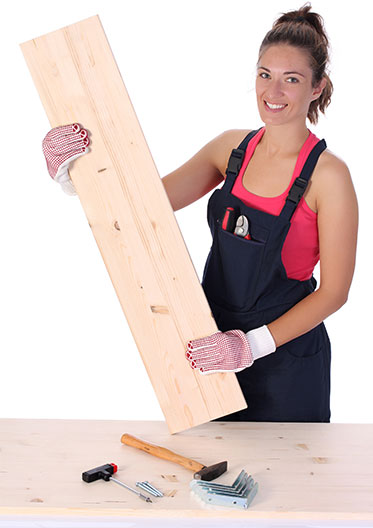
Things you’ll need

- Jigsaw
- Screws, Washers, and Nuts
- Pocket Hole Jig
- 2’’x2’’x8’ long (twice the length of the table).
- Sander or Sand Paper
- Pencil or Sharpie
Making steps:
Trace machine:
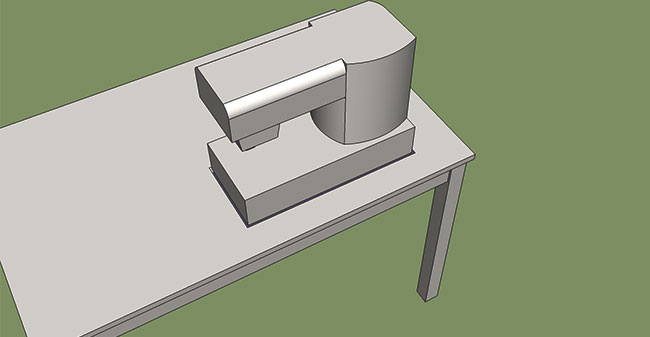
The first step in how to make a sewing table with an existing table is to place your machine in the selected position on the table. Use this as a double check to confirm the best location above and below the table. Once the sewing machine is in place, take your pencil and trace the bottom of the sewing machine where it meets the table. Remove the sewing machine and double check the placement. This is an integral step to ensure that you are happy with your sewing table.
Cut hole in table top:
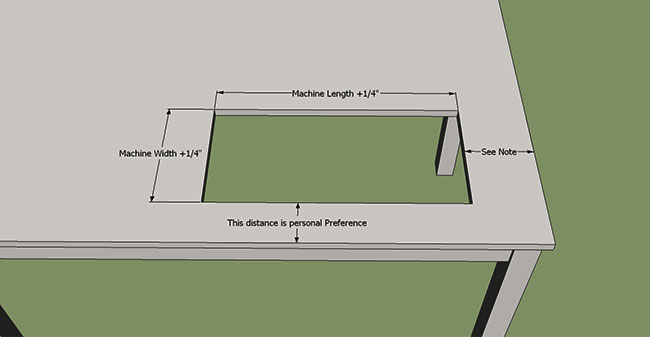
This is probably the hardest part of the process but with a few steps of preparation, anyone can easily do this. The first step is to make the pilot hole for the jigsaw. Normally done with a power drill, a hole is created somewhere on the traced line. The jigsaw is inserted into the hole. Cut out the traced out shape carefully ensuring that you take the corners slowly.
Once the hole is created, it is important to take the time to sand it. When the edges are sanded, you won’t have fabric catching any rough edges. Whether you have sandpaper or an orbital sander, taking the time now will ensure less issues later.
Cut supports to size:
The supports will allow the sewing machines to be set into place and supported. The added weight of the sewing machine needs to be anchored into the table for safety. Adding the additional supports will ensure that your sewing machine sits at the right height.
The supports are cut to the same length as the width of the table. The remaining board is cut into a shelf for your sewing machine to sit on.
The supports
Turn your table over and measure and work with the table this way will make it easier throughout this process. The supports should be placed to ensure that the weight of the sewing machine is supported and able to fit into the hole you’ve cut out.
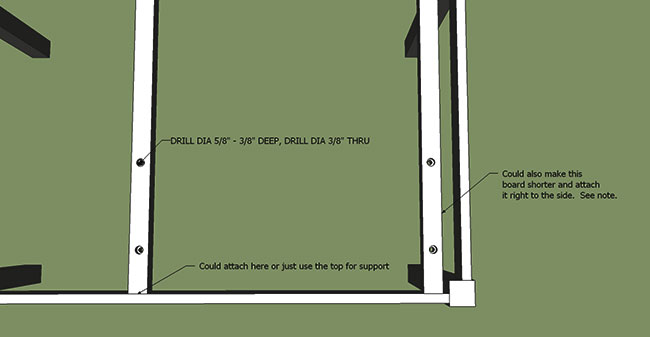
Drill Bolt Holes:
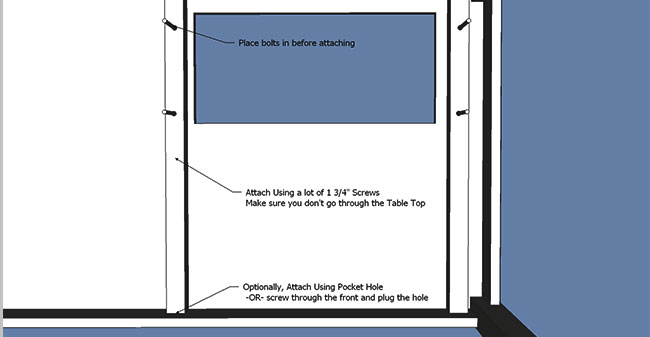
Bolt holes need to be cut to ensure that the holes match up. This can easily be done with a pocket jig though it is optional. Build the supports completely before attaching it to the sewing table.
Attach Supports to Tabletop:
Once your sewing machine support is created, it’s time to attach the supports to the table. Take the head to make sure that the holes match up. Though the pocket jig isn’t necessary when creating the support, the pocket jig is integral in attaching the support to the tabletop.
Cut Base to Size:
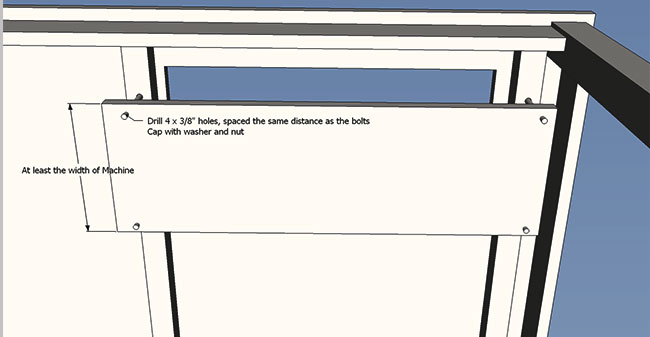
The base is cut to the size needed to enclose the sewing machine. Make sure to measure the area before cutting to ensure the correct size.
Drill for Bolts:
Pre-Drill all the necessary holes to make sure that your drill can easily attach the thick pieces of wood. Use the nuts and washers to ensure that you create a study support for the machine.
Raise Machine:
 Raise the machine into place and finish your new sewing table. With prior planning, you can easily make a sewing table that you can use for years to come!
If you don’t have an existing table
If you don’t have an existing table, don’t fret! With a bit of planning and keeping in mind the ergonomics of machine sewing, you can easily custom build a sewing table that meets your needs and is the perfect size for the space you have available. A homemade table is the perfect way to drop-in a sewing machine during the design process. Here’s our guide to making a drop in sewing table:
Determine Skirt Structure:
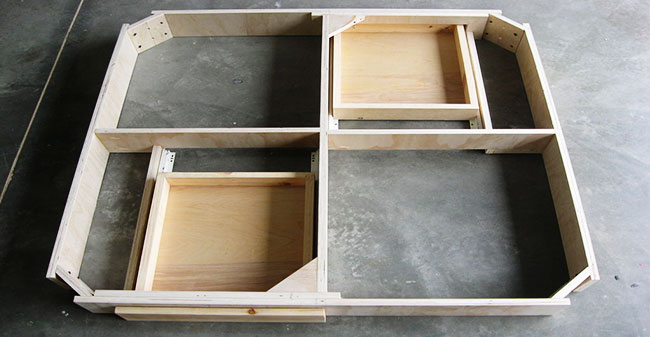
Knowing how you want the skirt structure of your table is an important part of building a sewing table. When constructing the skirt structure you can integrate the sewing machine easily into the design rather than have to retrofit an existing table. This can help to easily build a custom sewing machine perfect for your sewing machine and space available.
Shape the legs:
Creating your perfect custom sewing table will allow you to integrate it seamlessly into the design of your room. By shaping the legs you can add stylized touches, pops of color, or simple legs. The best way to attempt this is to be consistent and measure each leg independently.
Shape Tabletop
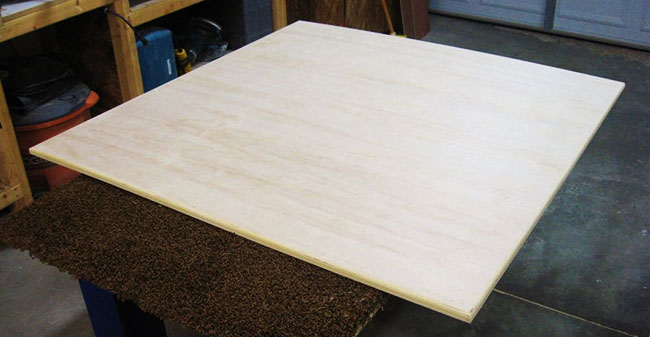
The Tabletop will need to have an opening created to house the sewing machine. Beyond this you can customize it to any size or shape. You could also create similar support structures to house an overhead lamp if you wanted.
Table Finishing:
Taking the time to ensure that the tabletop is smooth and finished will ensure a table that will last and not catch on the fabric that you are using. It is recommended to completely finish the table with paint or stains. Fully finishing the table will ensure that it is both stylish and useful.
Making of a gate leg sewing table
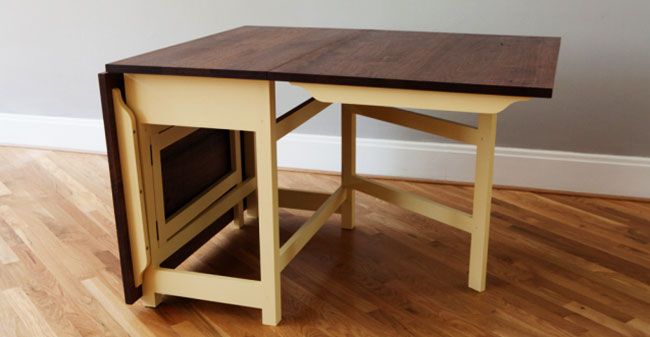
For those that have limited space or don’t want to have an establish table devoted to be a sewing table, you can build a gate leg sewing table. Gate leg sewing tables fold against the wall when not in use. This flexibility allows you to attach your sewing machine and fold out the table to have an integrated sewing machine only when you are working on a project.
Materials:
The gate leg sewing table is a more complicated table to build but with a bit of pre-planning, you can easily build a gate leg sewing table. Make sure to source the hinges beforehand to see what customization will need to be made to attach the swinging table to the wall or other portion of the table depending on the design.
Tools:
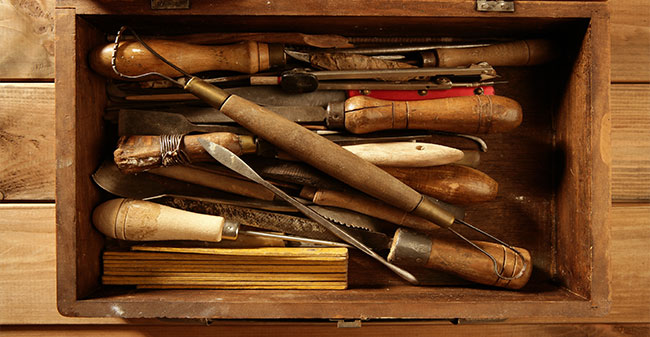
Due to the hinges, this needs a few additional tools, including a hacksaw, screwdriver, mallet, plugs, combination square, wood screws, and T Square.
Measurements:
These will be customized due to the type of gate leg sewing table that you are making. Make sure you consider what structure you will be attaching the gate leg to. You can either attach to a wall or to the other side of the table.
How to make a gate leg sewing table
Build the table:
Take a look at your hinges to ensure that they are the correct size. If they aren’t you can use the hacksaw to cut down to size. Center the hinges on the bottom of the two flaps that work best the size table you are building. Attach these and set aside. Use the last three pieces you’ve cut to size to build the base of your table. The combination square is used to center the small piece against the others allowing them to build the base.
From there you can attach the gate legs. These gate legs need to be cut to the correct length and attached using the wood plug and mallet.
Bring the pieces together and bolt to create the table. The hinges should be attached to the bottom of both the flaps and the table. We recommend watching a tutorial to get more detailed directions.
Tips and warnings

The old adage, measure twice and cut once is an old adage for a reason. Ensuring that the measurements and placement are right by double checking allows you to cut with confidence. Use safety precautions when you are using power tools and make sure that they are unplugged when not in use. Paint or stain your table outdoors if possible to ensure there are no hazardous fumes and perfectly homemade to your specifications.
Conclusion
A sewing table is a great addition to your crafting arsenal to make your homemade sewing projects easier, more accessible, and directly integrated into the table. Stylish touches can bring this dated piece into this century easily by customizing your table to best meet your needs. Learn how to make a sewing table and integrate into your craft room. You won’t be disappointed.


")


