 Home
Home Sewing, Embroidery & Serger
 Cutting machines
 Brands
 Review

How many people actually know how to use a ruffler foot? How many people really know how to sew a ruffle? After reading this piece, you will have your own idea as to what a ruffler foot is and how it’s used!
What is a Ruffler Foot?
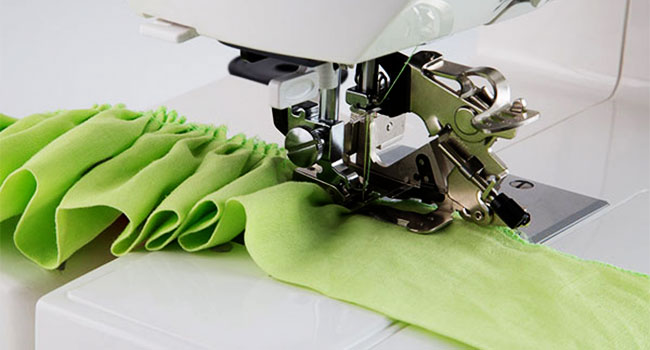
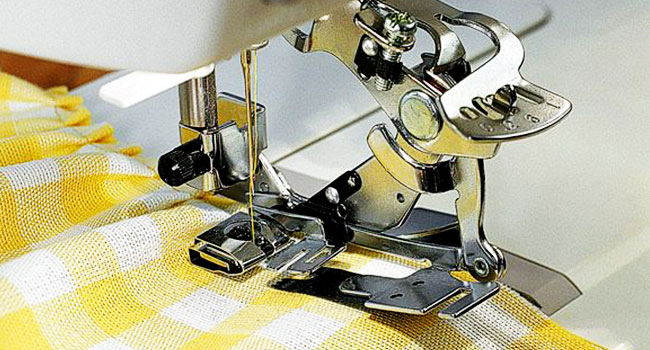
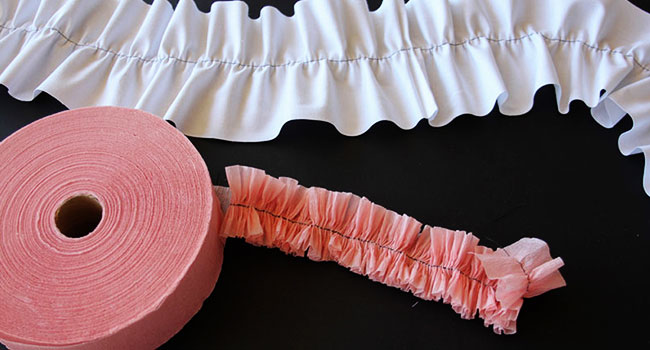
A ruffler foot is used simply to make a cascading ruffle design in fabrics. It is typically attached to a sewing machine, allowing the user to keep the ruffle design in place. It can be used to design a skirt, dress, or even a tablecloth. It creates a beautiful and wavy pattern in one pass through the ruffler foot. It may sound intimidating, but it’s actually pretty easy to use.
Shank Sizes and Their Differences
The ruffler foot comes in two different sizes. One being the high shank, the other being the low shank. The high shank machines usually measure between 1” and 1 ¼” from screw to bottom, creating a much larger ruffle. If you use low shanks, however, they typically measure between ½” and ¾ “. The size you use will depend on your sewing machine. Make sure you check the brand and model before purchasing a ruffle foot. The sizes will determine the size of your ruffle. Both shanks differ in design. Determining which size you may need is the first step towards getting to know how to use a ruffler foot.
Low Shank:
A low shank is commonly a very basic metal design that attaches easily to a machine. High shanks are slightly different. Not only are they larger, but they are also commonly a lot fancier with gold inlay and fancy inscriptions written into the plating. A low shank ruffler foot is commonly used in household and domestic sewing. It’s an easy tool to use when trying to make a small wavy pattern on almost any fabric that your project uses. This allows a user to create a cascading design for nearly anything they may be working on.
High Shank:
One may use a high shank if they work with industrial sewing machines. High shanks allow for a larger area of design, creating a larger ruffle than that of the low shank. High shank tools allow the user to make a much more noticeable pattern in their project. In an industrial sense, these tools are used for mass production of skirts, drapery, and dresses, to be sold in stores to consumers. You can use a high shank at home, just make sure to check the qualifications on your sewing machine. This sewing machine buying guide can be much helpful for you to find the right device.
Attaching Your Ruffler Foot
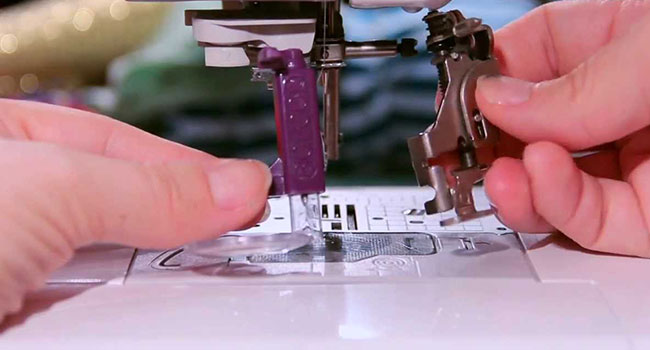
To attach your ruffler foot to your machine, you’ll have to remove your presser foot. To do so. simply follow these directions. First, turn the hand wheel towards yourself. This brings the sewing needle to its highest point. Ensure that your presser foot is raised, making sure that the metal plate has some distance between it and the pedal. Now, push the release button or lever, this will allow the presser foot to come off easily.
Next, untighten the screw on the side of your foot adapter. Now, to attach your ruffler, ensure that the hooked part of the ruffler is going around the needle clamp. The top fork arm has to be above your needle clamp, otherwise, it won’t work. A claw-like pronged part should be clearly visible. This claw holds onto your shank. Then, move your wheel at a steady and slow pace in order to align the screw hole between the two prongs of the “claw”. Simply replace the screw firmly, and you’re ready to go.
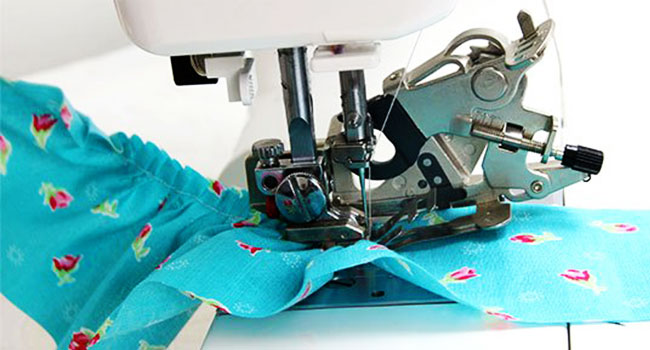
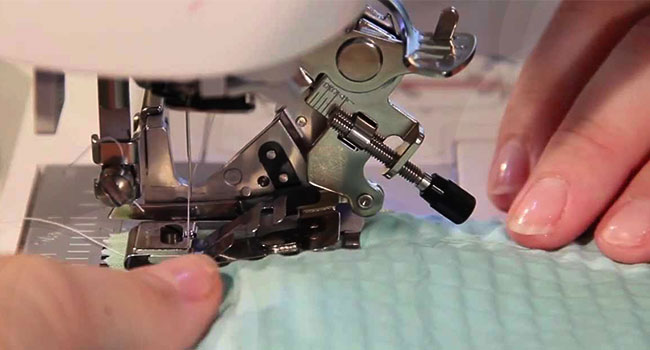
Inserting Fabrics
In order to achieve that cascading dress and skirt we touched on earlier, you’ll need fabrics. Inserting fabrics into your ruffler foot is quick and easy. All it requires is taking your choice of fabric, placing the piece of fabric that will not be ruffled beneath the foot while placing the soon-to-be ruffled portion right above the bottom plate. It’s just that easy!
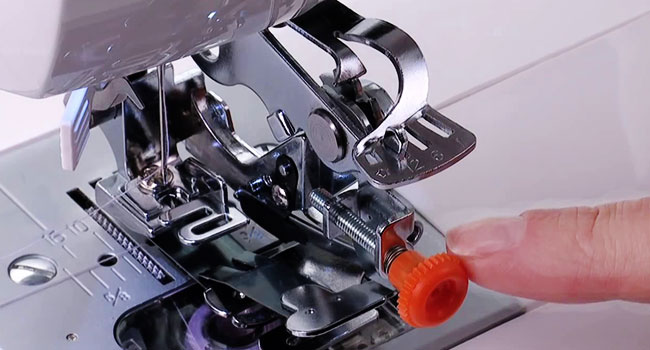
Ruffler Foot Settings
Each ruffler foot has settings such as 1, 6, and 12. If you’re ruffling on setting number 1, you’ll need to have fabric at least twice as long as your desired ruffle. If you wanted to pleat your fabric, you would have to mess around with the settings between 6 and twelve. Take notes on your results so you can save them for future reference.
Tension settings will have a large bearing on your results depending on the amount of fabric you’re using. Make sure to account for that. Settings 1-6 offer a much tighter and closer together type of ruffle. From 6-12, you typically end up pleating the fabric unless you can find your perfect setting and tension ratio.
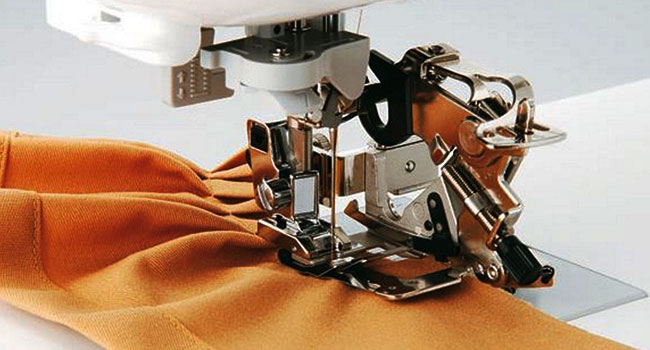
How to Sew a Ruffle
There is a very simple way to sew a ruffle. First, obtain your fabric. After that, you’ll want to place the fabric between the two plates located on the sewing machine itself. Place the fabric underneath the middle groove on the machine, allowing the machine to easily guide the fabric. You then drop your foot and adjust the settings. From there, you just go on with your sewing. It’s simple, easy, and very accomplishable once you acquire your ruffler foot.
Wrapping Up
A ruffler foot is used for altering or pleating a fabric to give it a wavy, ruffled design. Ruffle Foot tools come in two different sizes, the low shank, and the high shank. Each size is used for a different outcome or goal. They both have different sizes that make them different. Attaching you ruffler foot can be a bit of a hassle but this article may help with that. You insert the fabrics in a similar way that you would normally, except, you must thread it through one of the notches beneath the needle on the machine as to easily guide your stitch. When it comes down to settings, each person has their own taste. From 1-6, you get a tighter, closer ruffle. From 6-12 you can often end up with a pleat. Sewing a ruffle is just as easy as inserting your fabrics. It takes just a few easy steps. Hopefully, by now, you’re confident in your ability to sew knowing that you know how to use a ruffler foot.


