 Home
Home Sewing, Embroidery & Serger
 Cutting machines
 Brands
 Review

This article will outline how to make a pattern for a dress, as well as how to make your own sewing patterns. This easy step by step guide will also show you how to draw a dress pattern using tools such as scissors and pattern paper to create your own unique pattern from existing clothes. Additionally, it will cover two main ways of making a pattern for a dress:
Two different ways to draw your own dress pattern
We will explore two popular ways how to draw your own dress pattern and importantly how to make your own dress pattern, with step by step guides including the tools you will need, and different skills required such as how to draw a dress pattern from scratch.
Method 1: Copy the pattern of another dress:
Things you will need:
- Chalk: this will be used to trace the pattern of an existing dress on to paper you can then use as your design template
- Paper: this should be brown postal paper, baking paper or grease paper; any paper that is semitransparent, light and can be used to trace the design pattern of another dress
- A flat surface: this is to spread out the dress from that you are copying a pattern of. If you can’t use a large table or workbench, try using a large piece of cardboard or chalkboard laid out on the floor. Avoid soft surfaces like carpets or bedclothes, as these won’t keep garments flat for the tracing process. Make sure whatever surface you use is clean to protect the dress and fabric you’re using and free from any sharp edges or material that might cause items to scratch
- Fabric: this is the most important item that you’ll need to make your own dress with the desired pattern. Choose any fabric you desire but consider using a simple fabric, such as cotton for your first attempt, as this holds its shape well and is easy to use to create a design shape for a sewing pattern and general dress pattern.
If you’re familiar with the common but essential sewing tools for dressmakers, finding these items will be easy for you.
Step by step guide:
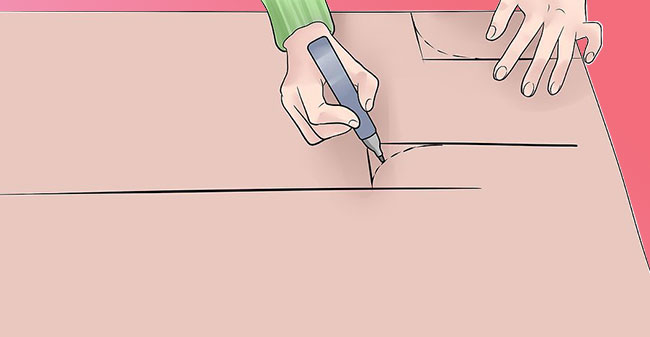
- Trace the seams with chalk
- Using chalk, mark the major seams of the dress, starting with the largest pieces first. For example, begin by marking the fabric on the front of the dress pattern, following by smaller patterns for things like sleeves or collars
- Continue the chalking process on the front, then do the exact same for the back of the dress. Again, creating your own dress pattern by tracing a simple dress should be easy for a beginner.
- Spread out the pattern paper
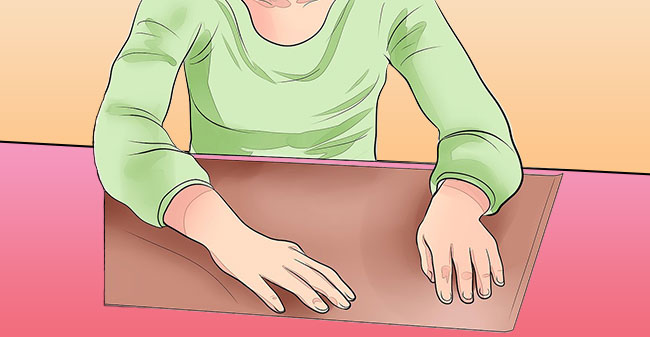
- Flatten and spread the pattern paper you are using to draw your own dress pattern on to the hard surface you have chosen, such as a table or sheet or chalkboard.
- Use your hands, knees or paperweights to keep the paper smooth and steady in order to neatly set down your chosen dress and fabric.
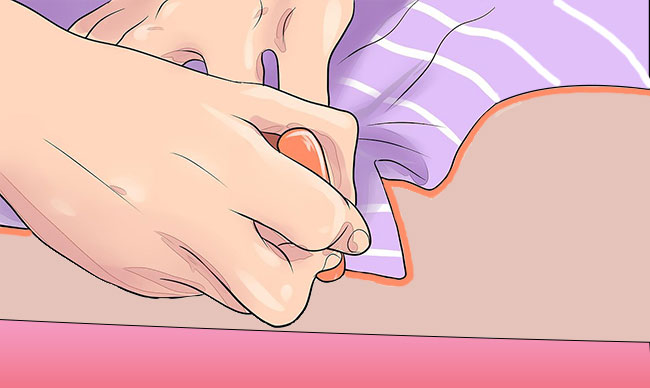
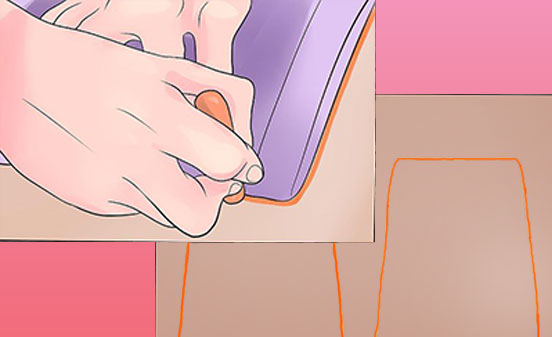
- Flatten the original garment on top of the paper
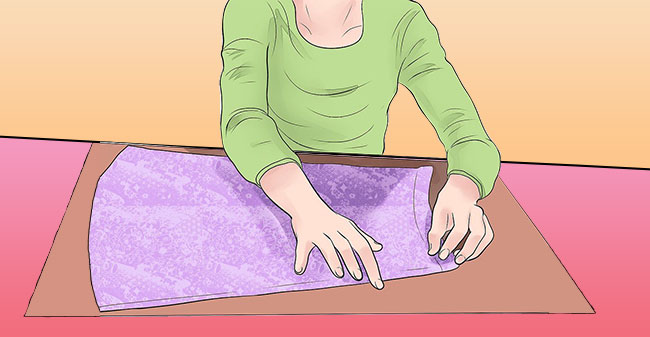
- Spread the dress you are copying flat on to the paper you are using to trace. This should be applied on whatever hard surface you are using to make your own dress pattern.
- Using one hand to keep the dress steady, use the other to rub the back of the fabric on to the paper you are using. The chalk you used to mark out all of the seams on the original dress will transfer on to the paper, showing the outline of the dress pattern.
- If you are struggling to keep the dress steady and are using corkboard or cardboard, use pins to fasten the dress to the surface.
- Trace around the perimeter of the largest area
- Keep the dress in place from the previous step. Again, you may wish to use pins to keep the fabric secured without too much movement. This makes the process easy and stress-free.
- Using chalk, trace around the perimeter of the largest sections of the dress. You will need to do this for each major section of the dress, both front and back. For example, if the dress has a large separation or complicated design between the torso section and bottom sections, trace each part individually.
- Repeat for the back and the smaller pieces
- Just like drawing the front and back sections of the dress pattern separately, do the same for the smaller pieces, such as sleeves, cuffs and collars
- Make sure to leave room between each drawing if using a single piece of paper. If you draw each section too close together, they will become more difficult to cut later when transferred on to fabric
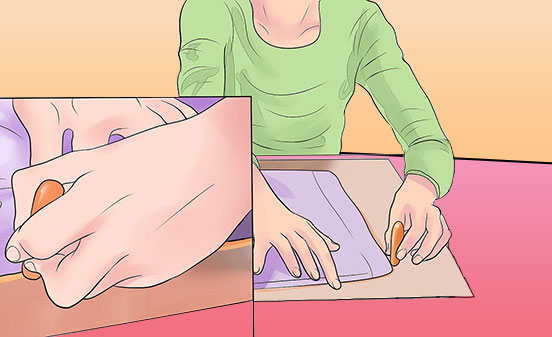
- Sketch a seam allowance and cut
- Once all the sections have been sketched on to the paper using chalk, draw an additional outline around each piece. Leave a few centimeters between the true seam line and the perimeter; this is the space you will need to cut the fabric without difficulty.
- Cut the paper following the additional lines you have just drawn, do not cut the true seam lines drawn around the original dress.
Method 2: Taking a body measurement:
Things you will need:
- A measuring tape that can be rolled around the hips, waist, chest and sleeves of your chosen model
- Chalk or marker: this will be used to mark out the outline of your final pattern on to paper which will then be used to cut the final fabric
- Paper: Like in the last method, this should be brown postal paper, baking paper or grease paper; any paper that is semitransparent, light and can be used to trace the design pattern of another dress
- A hard, flat surface: like in the last method, this is used to spread out the dress from which you are copying a pattern. If you can’t use a large table or workbench, trying using a large piece of cardboard or chalkboard laid out on the floor. Avoid soft surfaces like carpets or bedclothes, as these won’t keep garments flat for the tracing process. Make sure whatever surface you use is clean to protect the dress and fabric
Step by step guide
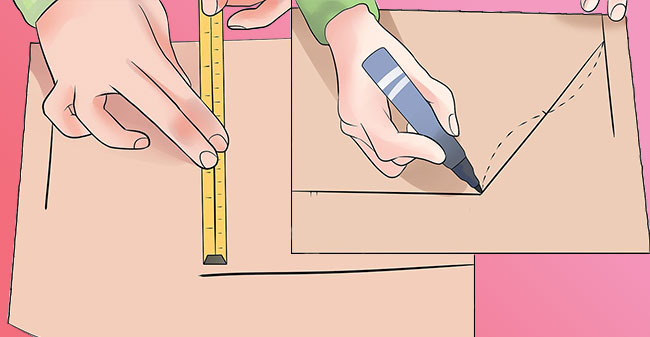
- Take measurements
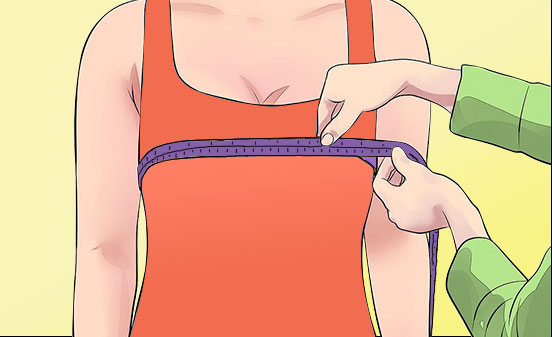
- You will need to take a variety of measurements of the different parts of your chosen model. When plotting out each of these measurements on to paper, make sure to add a couple of inches to ensure the dress pattern will fit comfortably with some room to move and breath.
- Take the following measurements, adding a few inches for comfort and then dividing by the appropriate factor depending on the measurement name (e.g. for a “half” measurement divide by two, “quarter” measurement by 4, etc.):
- The half neck
- The quarter bust
- The quarter waist: this should be taken from the smallest part of the waist
- The quarter hips
- The high shoulder point to upper chest
- The distance between your high shoulder point and waist
- The distance between your hip and high shoulder point
- The bicep half: measure when the arm is down and relaxed
- The sleeve length
- The underarm seam length: measure from the upper abdomen where the sleeve should meet the armpit
- Draw the front design on to paper
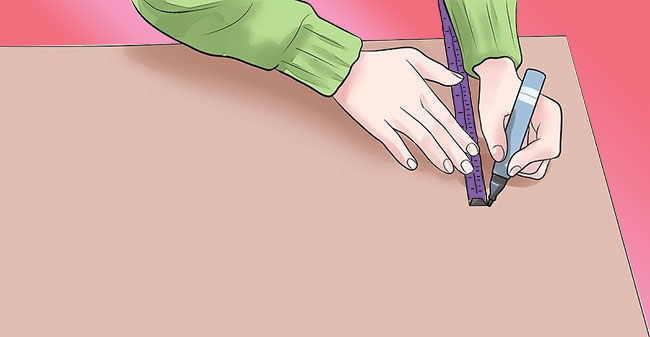
- Pick a sheet of paper that is longer than the distance between the two far ends of your garment/shirt: the quarter hip measurement and the high shoulder point. Anything less than this and it will not be big enough to accommodate your dress pattern design
- Always keeping several centimeters from the paper’s edge, use the measurements you made in step 2 to mark out the following points on the paper. As a hint, start by plotting the high shoulder point and using measurements to plot other points relative to it:
- Half shoulder
- Upper chest
- Quarter bust
- Waist
- Quarter waist
- Hip
- Quarter hip
- Connect the dots
Plot a concave curve from your high shoulder point to the paper’s edge. This marks the front neckline.
- Connect the high shoulder point to the shoulder with a convex curve.
- To create an armhole, mark a curve between the bust and shoulder point. It should be straight when leaving the shoulder and should increase in curvedness as it gets closer to the side of the shirt.
- Draw a line from the bustline to the waistline, and then to the hip
- Plot a curve from the hip to the edge of the sheet of paper.
- Plot out the sleeve and neckband and connect the dots
- Fold a piece of paper in half, ensuring the surface area is large enough to accommodate the sleeve measurements.
- Measure the sleeve along the edge of the paper, plotting points for the bottom and top measurements
- Measure the length of the underarm seam and draw this on the paper
- Follow the same process for the neckband,
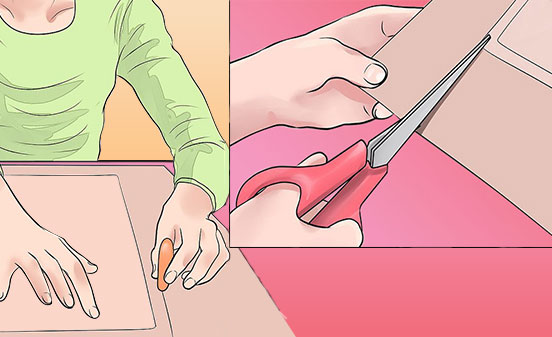
- Add a seam allowance and cut out the pattern pieces
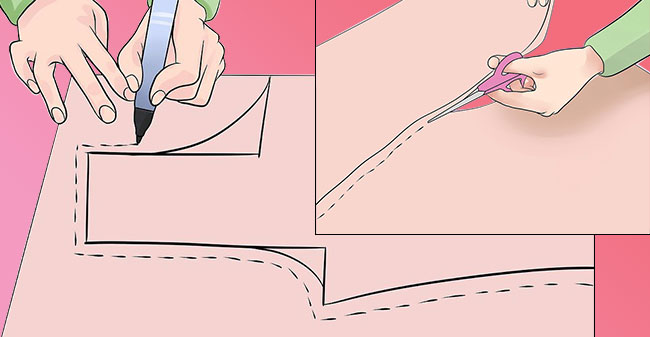
- Like in method 1, draw a generous seam allowance around each pattern on paper and cut out using scissors around this line. Easy!
Tips and warnings:
- This is a rough guide on how to make a pattern for a dress, consult others when deciding which method is best for you
- For all the steps above, think about the way the clothing you are currently wearing fits together at the seams, and where it leaves some room for changing body shapes when in different postures
- Never use scissors or other cutting tools when paper or fabric is being worn/ held by somebody else
- Experiment with other materials for a surface, such as Styrofoam which is also suitable for the use of pins
Conclusion:
Now that we have outlined the steps for how to make a pattern for a dress, you should now know how to design and cut your own dress pattern. The two methods are not as easy as one another, so beginners may want to start by practicing with method 1. You also need to find the right sewing machine as per your individual needs so that you can turn your dress ideas into reality. So keep this factor in mind as well.
Good luck!


