 Home
Home Sewing, Embroidery & Serger
 Cutting machines
 Brands
 Review

Die cutting machines are a very efficient way to cut all sorts of weak materials, whether it is fabric, paper or cardboard. Die cuts involve mass producing particular shapes in some cases. Die cuts are cuts made using die that are used in artistic ways, usually. Used for gifts and cards that are colorful a lot of the time, it is hard to deny that a die cutter is very useful but the question of how to make die cuts without a machine is often one that comes up with those not willing to buy into a die cutter. This question can be easily answered, and it will be in our upcoming sections. How to use die cuts without a machine and templates will be covered below to help you.
Are Die Cutting Machines Necessary for Making Die Cuts?

The truth is you are able to use die cuts without a machine and the aid of any difficult mechanics. However, there is no doubt that having to make and use die cuts manually will take up significantly more time than would be needed with a die cutting machine. The best and one of the only ways to answer the question of how to make die cuts without a machine is the rolling pin method.
The rolling pin method involves a process which seems long, but actually turns out quick once the use of it becomes familiarised with you. Along with a rolling pin dies, a sturdy surface (such as a table) and a flimsy and weak material such as fabric and paper. Die should be put onto the surface with a piece of material on top and the rolling pin should be firmly applied but not so much so that the weak material rips. This can only be done once for each separate pattern as the likelihood of it breaking on the second time is high.
The rolling pin is not very reliable though, leaving some parts of the material intact while other parts can be ripped and cut off. Because it is unlikely to get the perfect cut, scissors and other sharp knives can be utilized to alter the appearance of the die cut material. Utility knives are especially useful because of their accuracy and sharpness. However, to avoid blunting the knife, it is of your best interest to place cardboard under the material being cut. Before any of this though, always remember to draw an outline of your idea in pencil, which can be used later on when the material is being cut out.
Drawbacks of a Die Cutting Machine
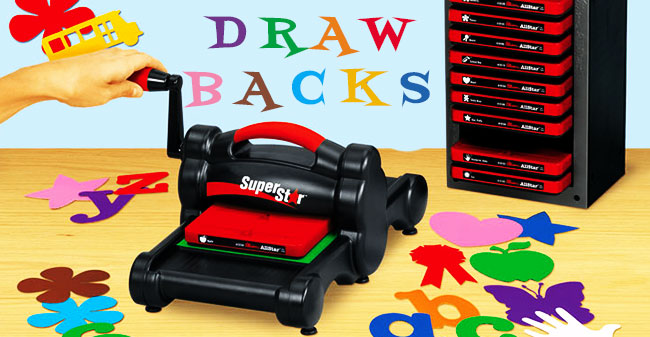
As a fabric cutting tool, the die cutting machine isn’t all fun and games; the product has some serious disadvantages that may urge you towards other die cut methods.
Firstly, the cost of a die cutting machine is very high compared to the products you would have lying around at home, which could be used to make the same product. Along with this are the constant compliments to the product which has to be bought, which further add to the cost. Even the manual products, the cheapest of the three options, is quite a hefty price for an individual.
You can only use a die cutting machine and make cuts when a power source is nearby because these machines practically always need an electrical source, which can sometimes be batteries.
Those who are technically challenged will struggle with machinery such as die cutters. This is because new skills have to be learnt to make and use die cuts with machines.
A machine will take up a considerable amount of space in your home.
Another method that can be used instead of the use of a die cutting machine is the tin can idea, which is a fantastic concept in my opinion. This makes you use more of your imagination and DIY skills a lot more than our previous method. This die cut method uses very simple products and utilities that will be lying around in your home.
The method that you will see involves the following materials and objects:
- A washed and dried tin can which was used previously
- A premade design that you can work around
- Snips of tin
- Old, used tin cans
- Damp sanding paper
- A special glue that expands
- Nose pliers (thin)
- Sharpener or another grinding tool
- 30cm ruler
- Very thick gloves
- A board made of foam that is just bigger than your actual design
The Method to Follow

Using a pair of tin snips you need to cut even pieces of tin out of the tin can, no more than an inch each would be fantastic. The metal in this can will make our eventual cutting dies. You should use thick gloves for this to avoid injury and you should make sure that the strips are as close to 1 inch as possible.
Once the strips have been cut to around 1 inch each, they have to be made sharper to ensure they can cut through materials like fabric easily. To do this, you have to use a sharpening or grinding tool around the edge of the tin snips, while it is firmly held down, perhaps using a clamp.
After this, take your damp sanding paper and sand down the strips. Then test how sharp the snips are on a piece of spare paper or another weak material.
Using a premade design that can be done with a computer or a simple drawing, bend the snips into the shape of the design you’ve created. The snips are not very sturdy or strong so this will be very simple for you to do.
Using the tin snips, cut all the tin strips to the exact length that the design specifies. Nose pliers can even be used to turn a certain part of the metal on the design where it would be hard to do so with hands. A ruler can be used to make sure the strips are to the absolute best length possible.
Place your foam board down on a sturdy surface and put each part of the design into it, with a gentle press. Do this until there is the same length of metal going all around the foam, as well as it being parallel to the foam.
Expanding glue should be used at this point to cement the strips into the foam, at the same time of hardening the foam in the board. This should be done with caution so you don’t damage the sharpness at the sides of the metal strips.
The last step is to go ahead and use the die cut, with care and caution. This should only be done after the glue has fully hardened. Please use a craft mat for your own safety and protection of your surface the die cutting is being done on top of.
Tips and Safety
During the making of the die cuts, there are many injuries that could occur. To avoid cutting of the hands, you should wear gloves at any given time. The sharp metal, especially from tins is likely to cut you and cause bleeding if you do not wear some protective gloves. Thin gloves would really not do the job, you need thick gloves so the metal has no chance of getting through.
A tip that I suggest when actually using the die cuts is to do it on a craft mat or cardboard so that your surface cannot be damaged. The surface could be a table that you have owned for years and it is an antique item to you, you would not want metal piercing its surface.
Although none of the items used can cause serious damage, the damage caused is enough to be irritating as some parts of your hands won’t be able to be used to their best ability and your surfaces can sustain permanent damage.
Conclusion
Top-class die, fabric, and cloth cutting machines are way too expensive to buy when you can have fun at home making die cuts while spending no money at all. You are certainly going to have everything on the list, from tins to pliers. Although, you may not own a foam core.
Using die cuts without a die cutting machine is one of the easiest things to do, whether the method involves pressing or rolling a pin along the weak material to make a hole, in the shape of the die.
What is so great about die cuts being made from scratch is the ability to make any shape you want. This is why I believe, as well as many others, that die cuts from scratch are worth the extra time and less money compared to using premade die cuts and die cutting machines. Hopefully, this article answered how to make die cuts without a machine.


