 Home
Home Sewing, Embroidery & Serger
 Cutting machines
 Brands
 Review

Sewing is a hobby that was once associated with elderly women and likely the smell of mothballs. Now, in a generation thriving on creativity, sewing has become a skill that is admired and highly profitable. Like tuning up an engine, sewing machines can use a good once through. This process helps you know how to fix sewing machine timing. By fixing the timing, you can get your sewing machine back up and running producing quality, even stitches.
Diagnosing and Fixing the Problem:

The first step is to make sure that you actually need to adjust the timing. Take the time to check your needle. Is it straight or bent? Is it the right type to punch through the fabric you are working with? Is it screwed in both correctly and tightly? Is the thread thick enough and compatible with your fabric? A common mistake is using a thin needle and a thin thread when working with thicker fabrics.
On that note, there is one blatant and easily recognizable sign that you must adjust your timing. Your stitching length is uneven. This usually means that your machine’s internal parts are not synchronized. This can be verified by removing your switch plate and slowly advancing the sewing machine by the hand wheel. This test ensures that the thread is smoothly hooking into the fabric.
If the hook doesn’t hook smoothly, the timing in your sewing machine needs to be adjusted. While the specific instructions will be dependent on your exact sewing machine, the general instructions are normally pretty universal. To make sure that you accomplish this correctly, take the time to read through your manual. Taking this time to see how your sewing machine differs from these directions will ensure that you can easily adjust your sewing machine’s timing.
The hooks are the most common issue concerning sewing machine’s timing. The second most common issue is related to the needle. The first step is to check the sewing machine’s timing to make sure that there is a problem.
- The first step is to check the direction of the rotation of the hook.
- If the hook is turning clockwise, the needle must be moved to the far right.
- If the hook is turning counter-clockwise, the needle must be moved to the far left.
- The next step is to look at the tip of the hook as it rotates. Is the hook passing through or underneath the eye of the needle? If it is going underneath the eye then the timing is considered “off.” If the hook is passing above the eye this could be indicative of a timing issue also.
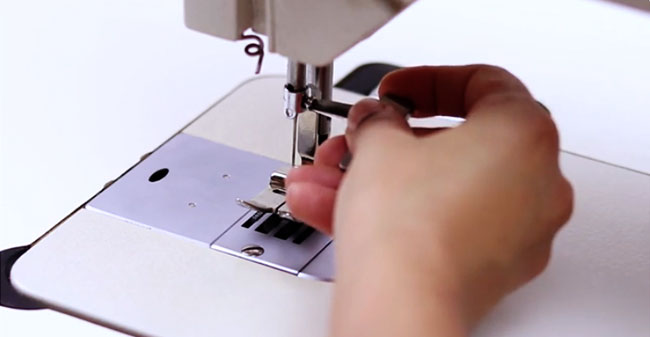
This is one of the common sewing machine problems that sewist faces every once in a while. Once you know that you need to make an adjustment, make sure that your sewing machine is set to straight stitch. Remove the machine’s base cover if you haven’t yet done so. You’d also have the following tools:
- Small flathead screwdriver
- Flashlight or lamp
- Ruler or Tape Measure
- Sewing Machine Oil
- Marker
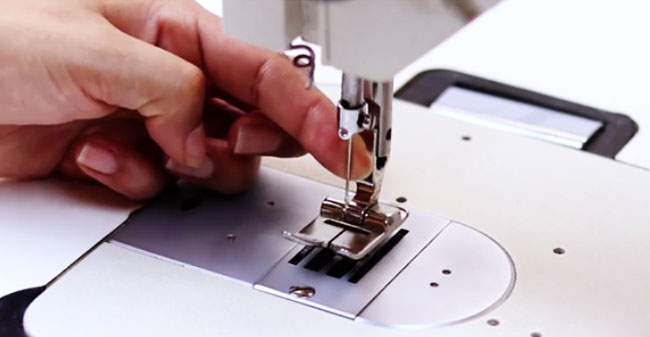
The height of the needle bar will most likely need to be adjusted. Most sewing machines have marks to help you easily set the height of the needle bar. To loosen the needle bar, you will need to consult your user’s manual. Once it is loosened, adjust the height to alight with the top timing mark even with the lowest point on the timing bar bushing.
If the markings aren’t present, the needle will need to be lowered completely with the hand wheel. Raise your needle 2.4 millimeters and then adjust the needle so that it is 2.4 millimeters below the point of the hook. We recommend adding markings to your sewing machine to make this easier if it needs to be done again.
The next step in making your timing adjustment for the hook. This process varies among machines, but there are general directions. We recommend consulting your owner’s manual to make sure that there are no model specific alterations to these general directions.
- Use the hand wheel to lower the needle bar as low as possible and loosen the gears in the base.
- Make the adjustment until the needle and hook are at the correct distance.
- Depending on your unique sewing machine, this distance can range anywhere from 0.04 millimeters to 0.1 millimeters.
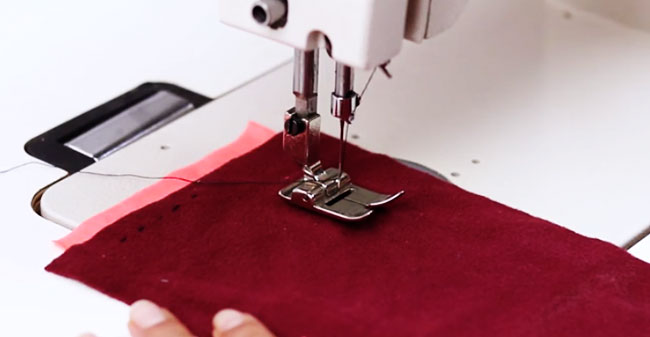
To retest the timing to see if the problem has been corrected, replace the thread if necessary and continue your work, keeping the bobbin exposed. If the problem continues, it is probably best to take your machine to an expert and have it check out for repairs.
If there is no continuing problem, congratulations! You may finally complete your project. Be sure to clear your gauges and secure each one tightly to prevent this problem from arising in the future. Now that you can confidently say that you know how to fix sewing machine timing, it is time to oil necessary parts (read your manual to know what you should and should not oil), clean debris and lint, and reassemble your machine. Refer to your manual to assure that you assemble it correctly.
Tips and Warnings:

Double check at the beginning that you need to fix the sewing machine timing. Ensure that you have the correct needle and thread for the task you are working on. Make sure the sewing machine is unplugged. You’ll need to read the warranty and perhaps contact the manufacturer before proceeding. There is a chance that attempting to fix the timing could void the warranty on some brands
Fixing the timing on a sewing machine is an easy step by step process to make sure that you don’t have to replace your sewing machine or pay for costly repairs from a sewing repairman. While we recommend checking your warranty and owner’s manual before proceeding, there are many benefits for taking the time to service your own sewing machine. With these simple directions and owner’s manual combined, anyone can adjust their sewing machine’s timing easily if they know how to fix sewing machine timing!


")


