Home
 Sewing, Embroidery & Serger
 Cutting machines
 Dress Forms
 Brands
 Review


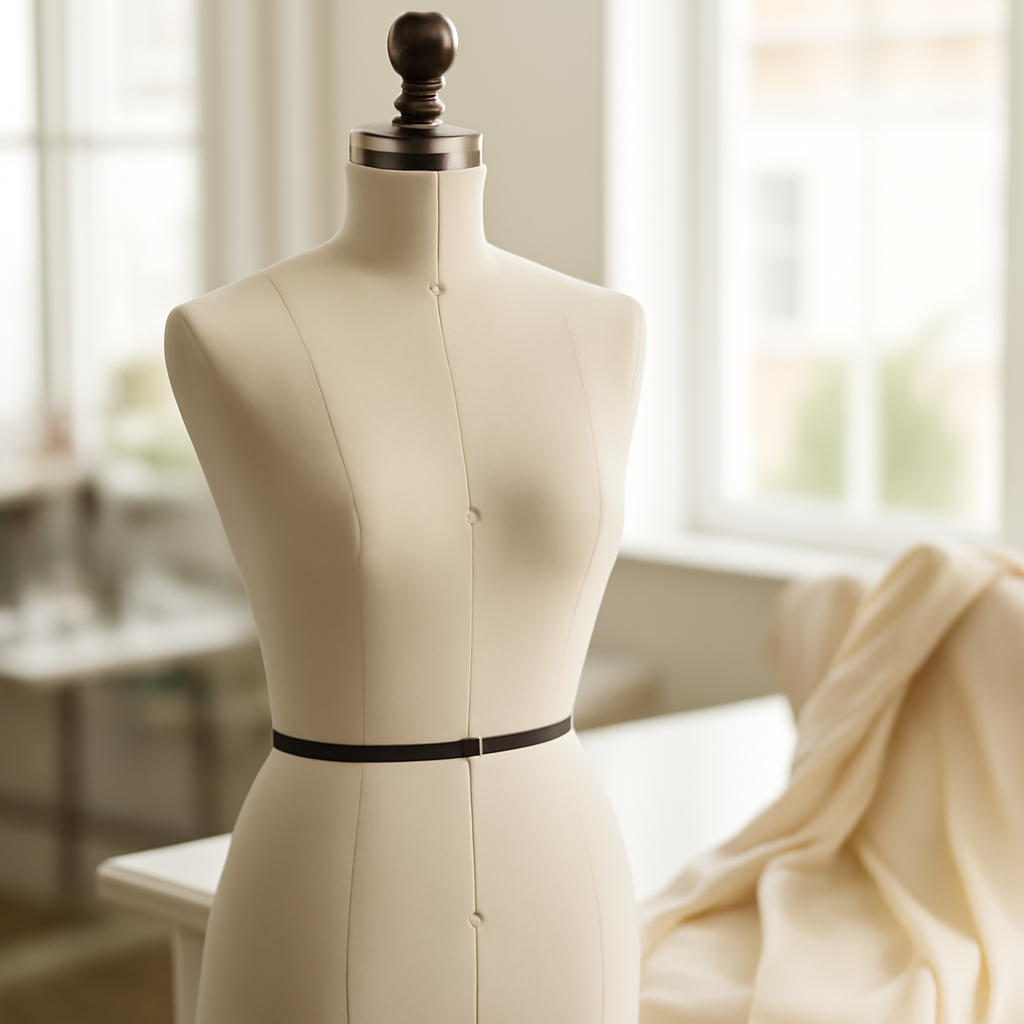
When your dress form mirrors your body, draping, pinning, and fit decisions become faster and more accurate. The secret isn’t fancy features—it’s choosing the right size, then fine-tuning. You’ll focus on three core measurements, learn a reliable way to take them on yourself, and translate those numbers to a form that truly supports your sewing goals. Whether you buy an adjustable model or a pinnable foam base, the approach below keeps you in control and your garments on track.
The three measurements that actually matter
For selecting the right dress form, three numbers drive everything: bust, waist, and hip.
- Bust: Measure over the fullest part of your bust while wearing the bra you plan to sew for. The tape should rest level around your back and across the apex.
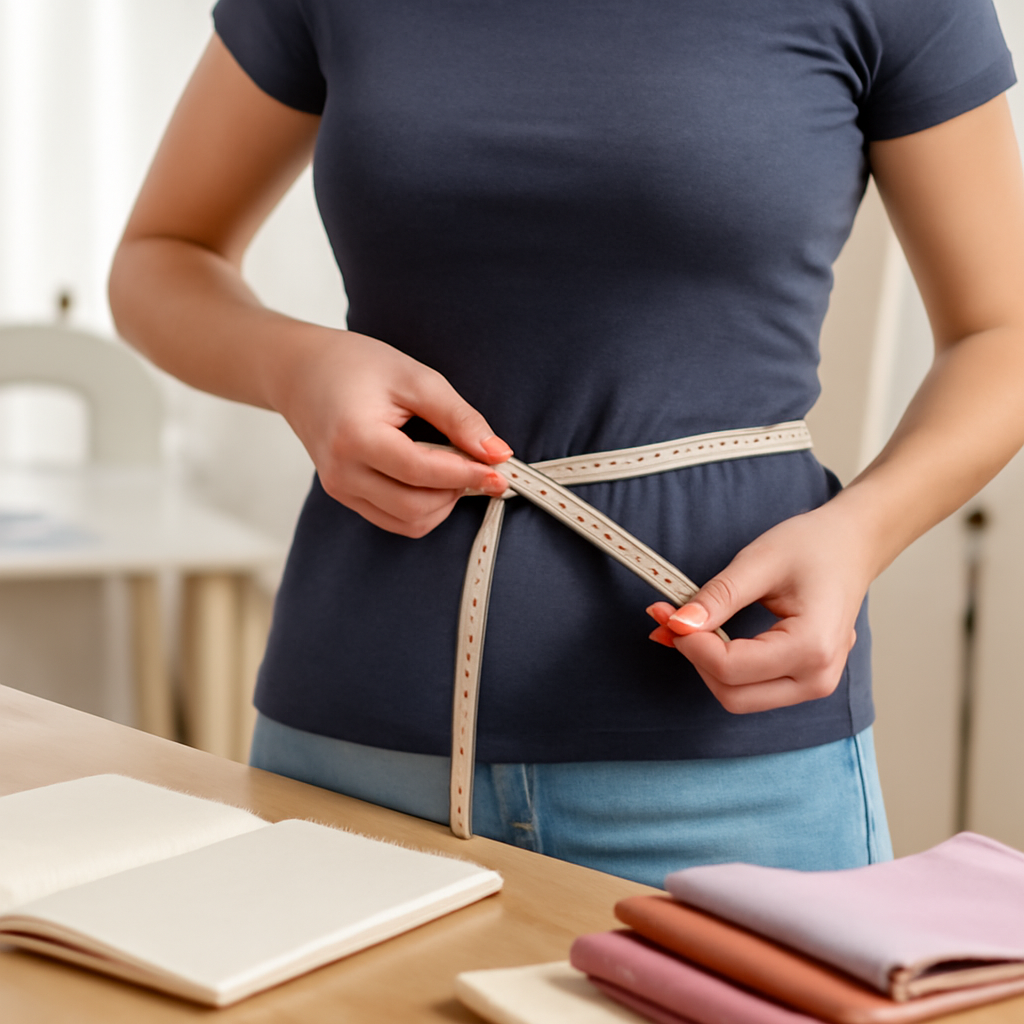
- Waist: Your natural waist is where your torso creases when you bend side to side. It’s usually above the navel. Tie a narrow elastic there to give the tape a consistent reference line.
- Hip: Use your fullest low-hip circumference. For many bodies, that’s around the seat, often several inches below the waist, but confirm by circling the widest part in a mirror.
These three measurements determine the base form size and shape you’ll work from. Other areas—shoulders, high bust, and torso length—can be refined with padding, a stretch cover, and strategic shaping. But if the bust, waist, and hip are off, you’ll fight the form instead of fitting on it.
How to take accurate measurements on yourself
Accurate numbers come from consistent setup and careful tape handling. Gather a flexible tape measure, a mirror, a narrow elastic or ribbon for your waist, and wear close-fitting undergarments (including the bra you’ll sew for). Then:
- Stand tall with a neutral posture—feet hip-width, weight evenly distributed. Don’t suck in or flare your ribs.
- Mark your natural waist with elastic. Keep it on for all measurements.
- Bust: Wrap the tape around your back and across the fullest point. Keep the tape level and snug, not tight.
- Waist: Measure over the elastic without compressing soft tissue.
- Hip: Circle the widest part of your low hip/seat. Check in a mirror to keep the tape parallel to the floor.
- Take each measurement twice. Record to the nearest quarter inch (or to the nearest half centimeter) for repeatability.
- If you’re solo, pull the tape’s end to your front and clip it lightly; rotate the tape around your body rather than twisting yourself.
Consistency matters more than perfection. Use the same undergarments and measuring routine each time so your numbers stay comparable when you evaluate forms and adjust padding.
Matching your measurements to a dress form
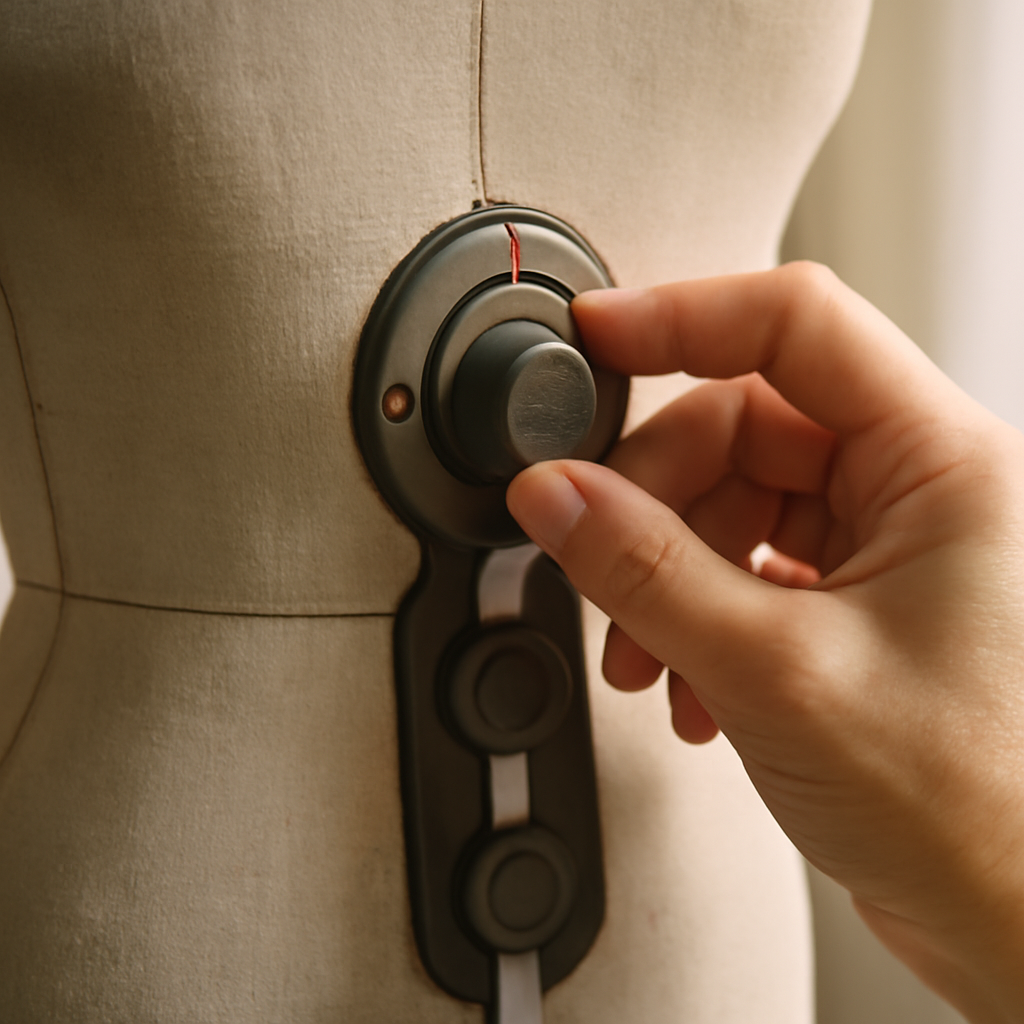
With bust, waist, and hip in hand, compare them to the manufacturer’s size chart for the form you’re considering. Aim for a base form that is the same as—or slightly smaller than—your body at the fullest area. You can always pad up; you can’t dial or carve a form smaller without distorting shape.
Because sizing systems can look different across labels, it helps to know the standards behind them. A Threads Magazine industry fit brochure confirms major U.S. pattern companies size from the same core body measurements, so once your bust/waist/hip match a chart, that logic carries across brands and form makers.
Check more than circumference: note bust apex height, waist placement, and the waist-to-hip drop. If those aren’t perfect, pick the closest base size and correct the rest with padding and a tight cover. For a quick overview of reputable options, see our top dress forms buyer’s guide.
What to do if you fall between sizes
If your measurements span two sizes or your shape is curvier in one area, choose the smaller base and build out.
- Pad strategically: Use foam pads, cotton batting, felt, or fleece to add volume at the full bust, side bust, low belly, high hip, and seat. Layer in thin pieces for smooth transitions.
- Use a close-fitting cover: A stretch knit cover or power-mesh tube compresses pads evenly so the surface stays pinnable and accurate.
- Simulate your bra: Place a similar bra on the form, then pad into the cups to match your bust shape and apex position.
- Set the waist: Add a firm waist tape at your measured level; all vertical shaping cues (darts, princess seams) reference this line.
- Prioritize the upper body: For draping tops and dresses, get the shoulders, upper chest, and bust shape right first—then build out waist and hips.
- Check with a test garment: Slip a fitted knit tee or a muslin shell over the form to reveal where to add or subtract padding.
Adjustable forms help you get close, but the final accuracy comes from padding to your silhouette. When in doubt, smaller plus padding beats larger with no way to remove circumference.
Pick your form by the numbers: bust, waist, and hip measured carefully, then matched to a chart. Choose a base at or just under your largest area, and fine-tune with pads and a snug cover until the silhouette mirrors you. A few deliberate setup steps now make every future fitting faster, clearer, and more consistent—so your projects move from rough drape to polished finish with far less guesswork.