Home
Home Sewing, Embroidery & Serger
 Cutting machines
 Dress Forms
 Brands
 Review

I still remember my first serger. I took it out of the box, looked at four spools, two needles and a maze of little metal hooks, and quietly put it back. It sat in the corner for two weeks before I worked up the nerve. When I finally learned a few simple habits, threading went from an afternoon of frustration to about ten minutes.
Here is everything I wish someone had told me on day one.
Why Threading Feels So Hard
A regular sewing machine has one thread path. A serger has four or five, and each thread has to travel through its own guides and tension discs before it reaches the needle or looper. Get the order wrong and the machine will jam, skip stitches or make a tangled mess. The upside is that once you understand the logic, every serger works in almost the same way.
Trick One: Tie On Instead of Rethreading
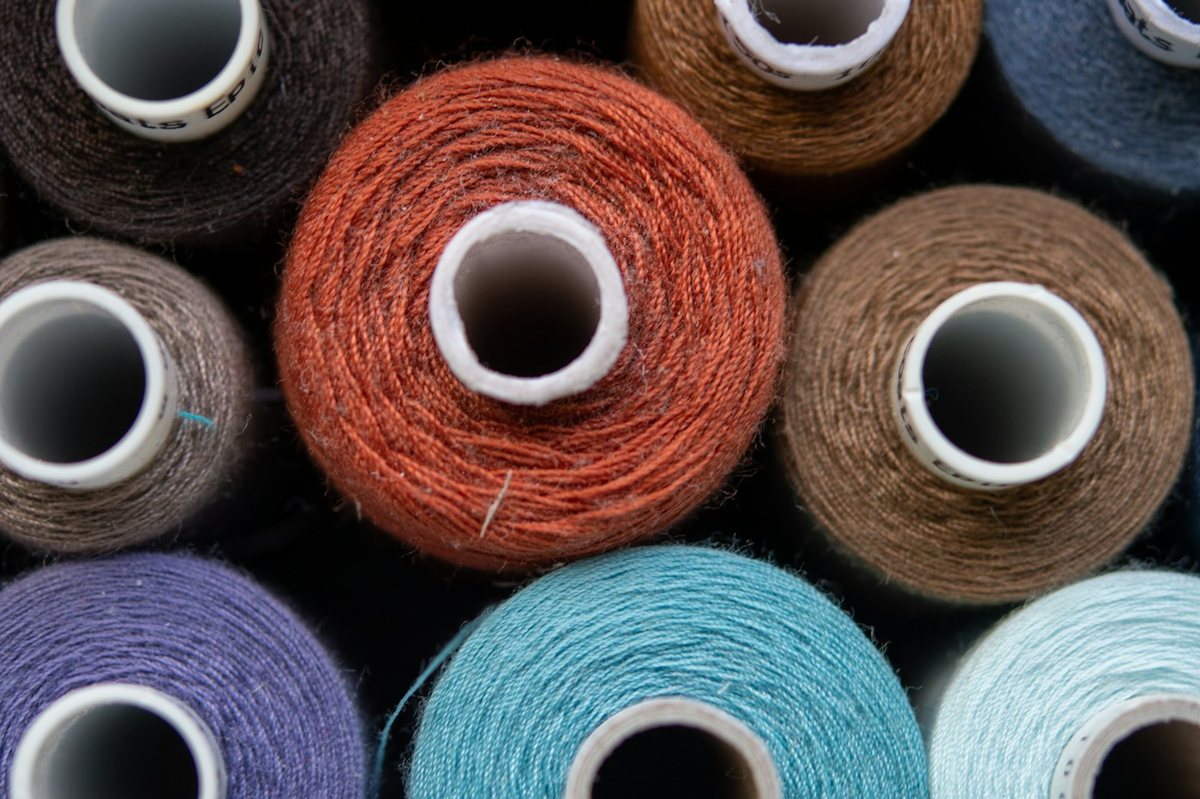
This is the single best tip I know. When you change colors, do not pull the old thread out. Cut each thread above the spool, tie the new thread to the old one with a small knot, and gently pull the old thread through the machine until the knot reaches the needle. It works for the loopers and the needles, and it turns a full rethread into a few minutes. The American Sewing Guild covers threading and securing ends in its serger Q&A, and it backs up the tie-on approach for changing spools.
Trick Two: Thread in the Right Order
Most sergers ask you to thread the upper looper first, then the lower looper, then the needles, right needle before left. Follow the numbers on the machine, because the tension can end up wrong if you go out of order. I keep the manual open on my table every time, even now.
Trick Three: Use Different Colors While Learning
Buy four cones in four colors for practice. Match each color to a thread path on the machine, and when a stitch looks wrong you can see exactly which thread is misbehaving. Loose loops on the edge usually point to one looper, and a puckered seam usually points to the needle threads. This is far easier to diagnose than four cones of the same white thread.
Trick Four: Lift the Presser Foot
This one caught me out for weeks. Lift the presser foot before threading, because it releases the tension discs and allows the thread to seat properly. If the foot stays down, thread sits on top of the discs instead of between them, and you get loose, uneven stitches that no amount of adjusting will fix.
Test Before You Sew
Run a scrap of the fabric you plan to use, not a random piece of cotton. Check that the stitches lie flat, the edge is wrapped smoothly and the seam does not pucker. Then adjust the tension one dial at a time, which is the only way you will know which change fixed the problem. For stretchy knits, remember to check the differential feed too. Threads Magazine has a clear explanation of how the setting changes the way fabric moves through the machine.
Pick a Machine That Helps You
Some models make this much easier than others. Color-coded threading paths and lay-in tension guides remove most of the guesswork, and they are the features I look for first. Our best serger machines guide highlights the ones with the friendliest threading so you can skip the frustrating part I went through.
Common Threading Problems and Quick Fixes
Skipped stitches usually mean a dull or bent needle, or a needle that is inserted upside down or not pushed all the way up. Looping thread on the fabric edge points to a looper thread that missed a guide, so rethread it in order. Thread that keeps breaking normally means a snag on a spool cap or a tension dial that is set far too tight. Before you touch any dial, always check the thread path first, because most problems come from threading rather than tension.
Small Habits That Save Time
I keep a small pair of tweezers and a bright lamp beside the machine, because tiny loopers are easier to reach when you can see them clearly. I also leave a generous tail of about six inches when I start sewing, and I stitch a few extra inches of chain at the end of every seam so the threads do not unravel. On projects with lots of seams, I run a chain of stitches between pieces without cutting the thread, which saves changing thread again and again.
Keep It Simple
Once you learn the order and the tie-on trick, threading stops being scary. I now change colors for a single project without a second thought. Take your time, follow the numbers, and remember that every serger owner has tangled at least one machine. You will get there faster than you think.