 Home
Home Sewing, Embroidery & Serger
 Cutting machines
 Brands
 Review

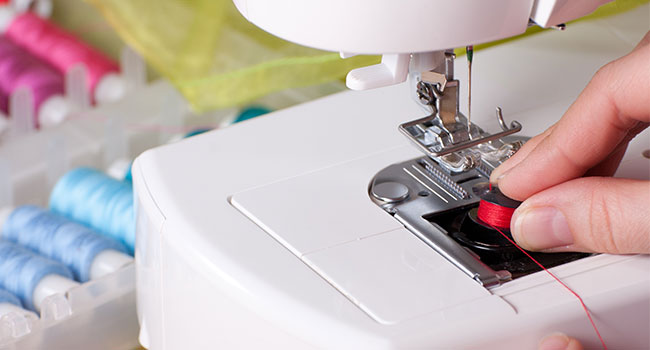
If you are a novice or even an advanced quilter, you have probably experienced the issue of those pesky threads breaking. It can make you want to throw up your hands in the air and yell, “why does my thread keep breaking on sewing machine?” This common but frustrating issue can keep everyone, including the expert sewer, from completing a piece that you are passionate about.
Possible reasons for thread breaking
It is discouraging for your upper thread on your sewing machine to keep breaking free and tedious to rethread and fix it. There are a few reasons that could be causing the breakage while sewing your quilt or project. Knowing the reasons why the thread could be breaking free will help you to quickly identify the issue, solve the problem, and finish your work with ease. If you are asking yourself, “why does my thread keep breaking on sewing machine?” then here are some tips and tricks for you.
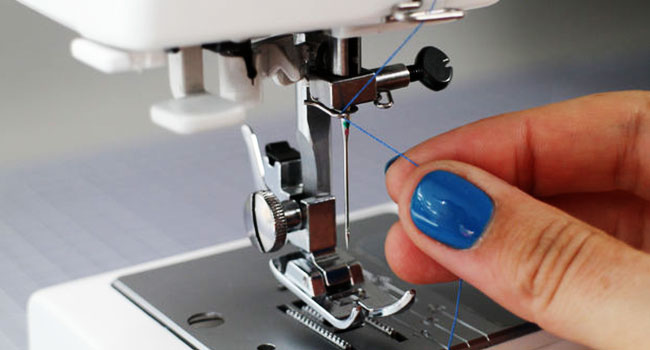
- If your upper thread is breaking free, the problem could be that it is not installed in the sewing machine correctly. Familiarize yourself with the upper thread strand and every part it connects to. By following the strand, you are checking to make sure the top thread is installed correctly at every point. This will help narrow down the cause of the thread breakage and make sure that you are inspecting the whole machine for any other problems.
- After making sure the upper thread is installed correctly, make sure the tension is not too tight. If there is an error here, the upper thread will not function properly or will snap easily. Take a look at the tension of the upper strand and make adjustments accordingly using the nobs on the sewing machine. In general, the higher the number on the dial represents a tighter tension, or pull, for the thread.
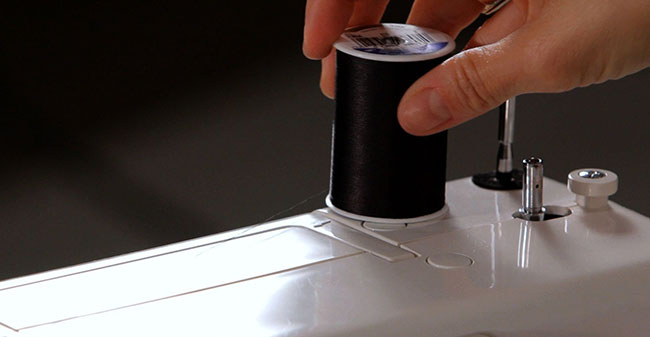
- Check to see that the spool of the thread itself is installed correctly in the sewing machine. Also, check that the correct spool cap is in place. It needs to coordinate in size with the spool of thread you are using. Be careful that the spool cap is not too small or too large or else the top thread could break free.
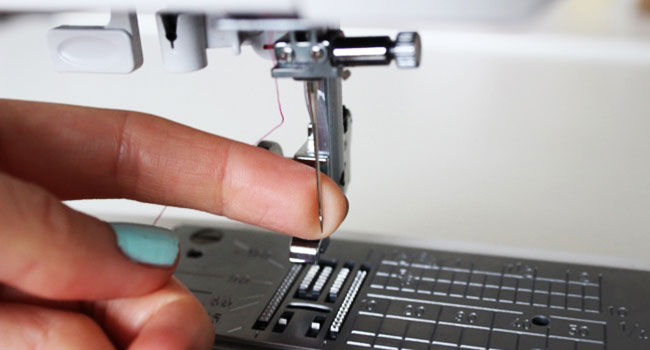
- After making sure the spool of thread is correct, you then should check that the needle is inserted correctly. The flat side of the needle should be away from you, and you can tighten the needle clamp with a screwdriver. Each sewing machine should have instructions to show how each part should be assembled and cared for.
- A broken or bent needle could also cause the top strand to break while you are sewing. Proper needle function requires a needle without bends, dents, chips, or breaks. We all tend to keep the needle in the machine until it is absolutely necessary to replace it, but be sure to check the needle itself every now and then for any issues that could be causing the upper thread to break.
- While you are checking the tension of the upper thread, you should also check the tension of the lower thread. The top and lower threads should have the same tension to achieve matching stitches. If necessary, the lower strand can be adjusted by hand depending on what machine you have. Older machines especially will need to have both upper and lower strands adjusted to the proper tension as the older machine do not have automatic adjustments.
- Be sure to check the bobbin thread and make sure the thread is evenly wound in the bobbin case. Slow and steady wins the race here, so make sure you are winding the thread at an even, slow pace.
- Your upper thread could also be breaking because the embroidery data has pitches that are set to zero. Check the data and be sure to erase all pitches of zero.
- Check to make sure the thread quality is not poor. The old thread will be lower in quality and will break free a lot easier than newer thread. Also, cheap or bargain thread is more likely to break than new and higher priced thread.
- Check that the embroidery data does not contain stitches with extremely small pitches. You should erase this could be the cause of the upper thread problem with the tiny stitches.
- There is a specific bobbin that should be used for each kind of sewing machine. You should correctly match the bobbin with the sewing machine for the best quality stitching and quilting. This is an easy way to make sure the upper thread will not break while moving through the machine.
- A pesky reason for the top thread problem is if the needle touches the needle plate. This could cause the needle to break or the thread to break. The jarring motion will snag the thread and break it, so make sure the needle is straight up and is hitting the correct part.
Why if your upper thread still keeps breaking on your sewing machine? The top thread will definitely break if the automatic needle-threading mechanism is broken. This will require your machine to be serviced by a professional. If you are still wondering why your upper thread is breaking then you should have your machine serviced as it could be a bigger issue.
Some tips for fixing this problem:
It is only helpful to know the reasons if you have some solutions. With that, here are some way to solve your upper thread woes:
Step 1: Clear your thread path. Take out the thread and follow the path it would take. Slowly run your hands along any major points such as the throat plate or the bobbin. Make sure there are not any pieces of thread or needle obstructing the thread path or disrupting the motion.
Step 2: Make sure to use the right thread for the project you are working on. The thickness of thread will vary depending on what you are sewing or quilting. Also, be sure not to use old or aged thread. To prevent this, occasional sewers date the spool of thread to make sure the quality of thread is the best. You can test the thread itself by putting an end of the thread in each hand and pulling. If the thread breaks, throw it out. Storing the thread properly will also make sure you are getting the longest life possible out of the thread.
Step 3: Use the right needle for you’re the fabric and technique you are using. For example, a thinner needle is necessary for thin or delicate fabrics, and a thicker needle for heavier fabrics.
Step 4: Check your bobbin and case for any fly away pieces from previous quilting projects. Debris or old thread will make the bobbin thread tangle or unwind. You can turn your machine upside down and shake it a little to clear out any pieces that may be stuck in the bobbin case.

Step 5: Check your throat plate, which is sometimes called a needle plate. Make sure the throat plate is correctly in place on the machine so the needle is not hitting the plate. Unfortunately, a damaged needle plate should be tended to or else you will keep having thread issues.
A sewing machine is an impeccable technology that requires specific timing of working pieces and proper motion to create beautiful pieces you love. With that comes many different issues that could keep you from completing a project out of frustration. The best way to prevent this is to educate yourself on your sewing machine and its model. The next best thing to do is to be sure you are using quality thread and needles that are not worn or broken. Study the parts and how they work together for each wonderful stitch. By learning about each part of the machine and how to care for it, you will never have to ask yourself “why does my thread keep breaking on sewing machine” again. Also see our step by step guide on how to find and fix embroidery machine problems.


